1) EC2 인스턴스의 이름과 운영체제를 선택합니다. ‘WebServer01’, ‘Windows Server 2022’를 선택했습니다.
2) 인스턴스 타입은 Free tier eligible 이 가능한 것으로 선택합니다. Key pair 는 임의로 선택합니다.
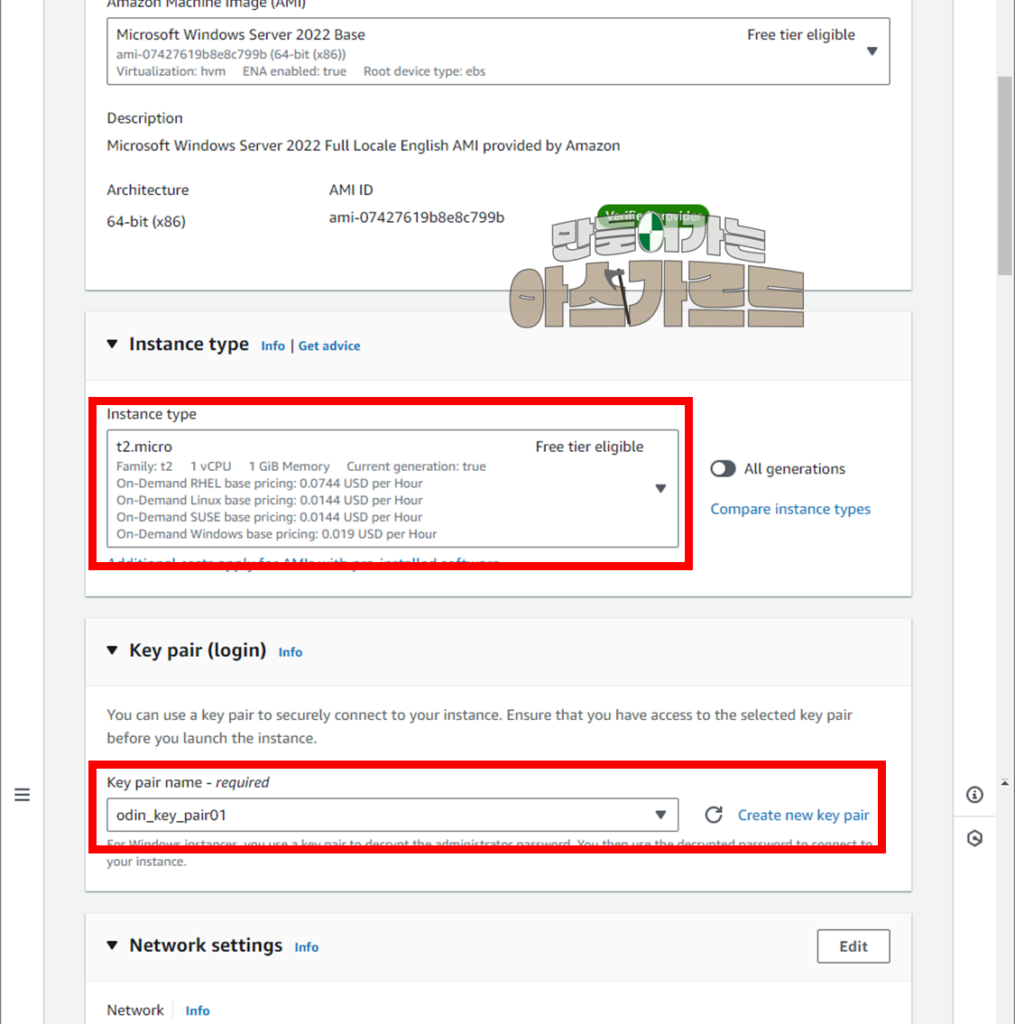
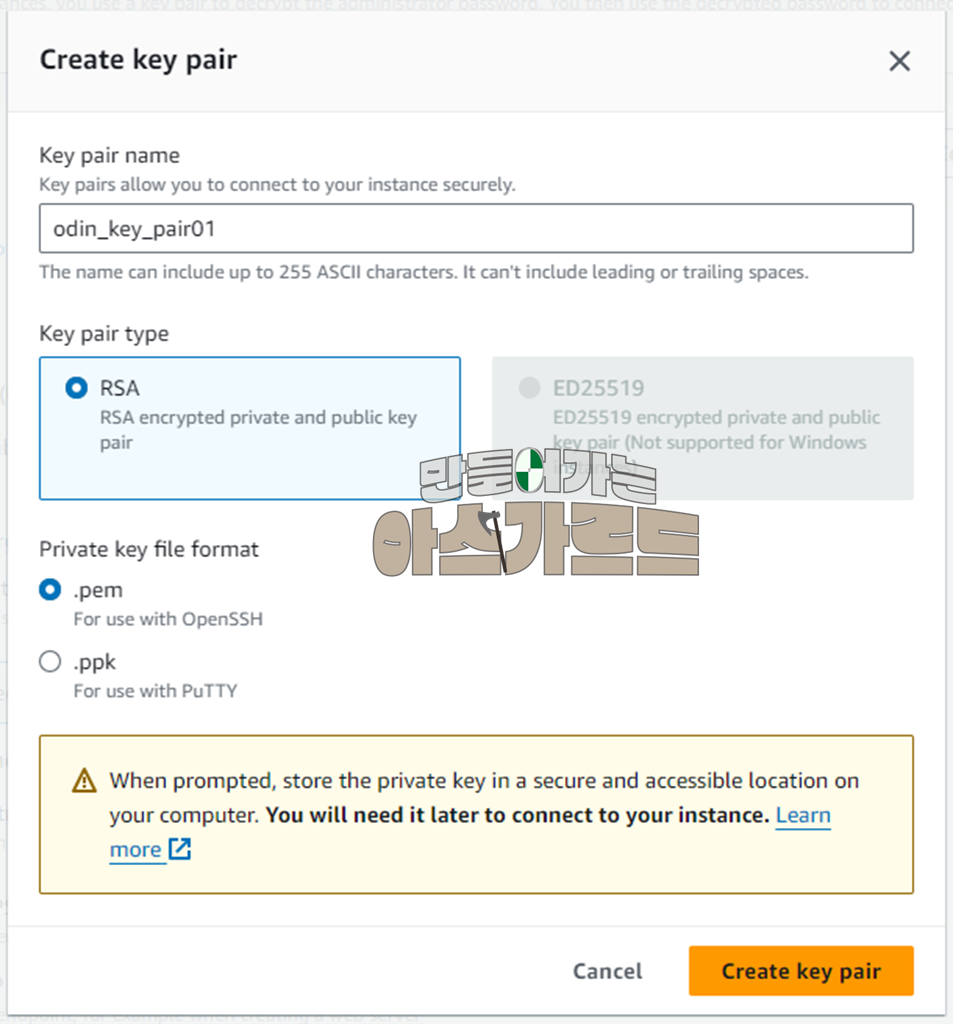
** 만약 Key Pair 가 없다면, 옆 ‘Create new key pair’를 클릭하여, 새로운 Key Pair 를 만듭니다.
3) 이후 [Launch Instance] 버튼을 클릭하여, 인스턴스를 만들고 실행합니다.
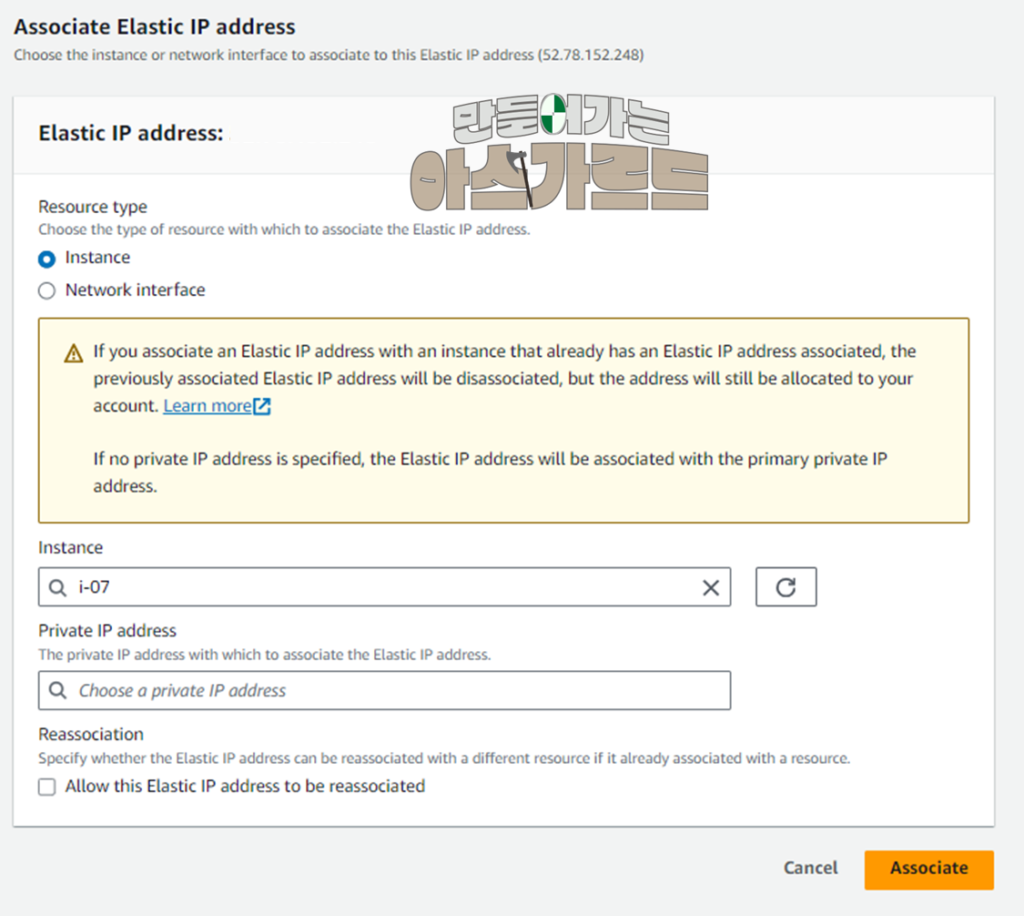
4) “Elastic IP Addresses”에서 Elastic IP Address를 하나 만듭니다. [Associate Elastic IP address] 버튼을 클릭하고, 방금 만든 인스턴스와 연결합니다.
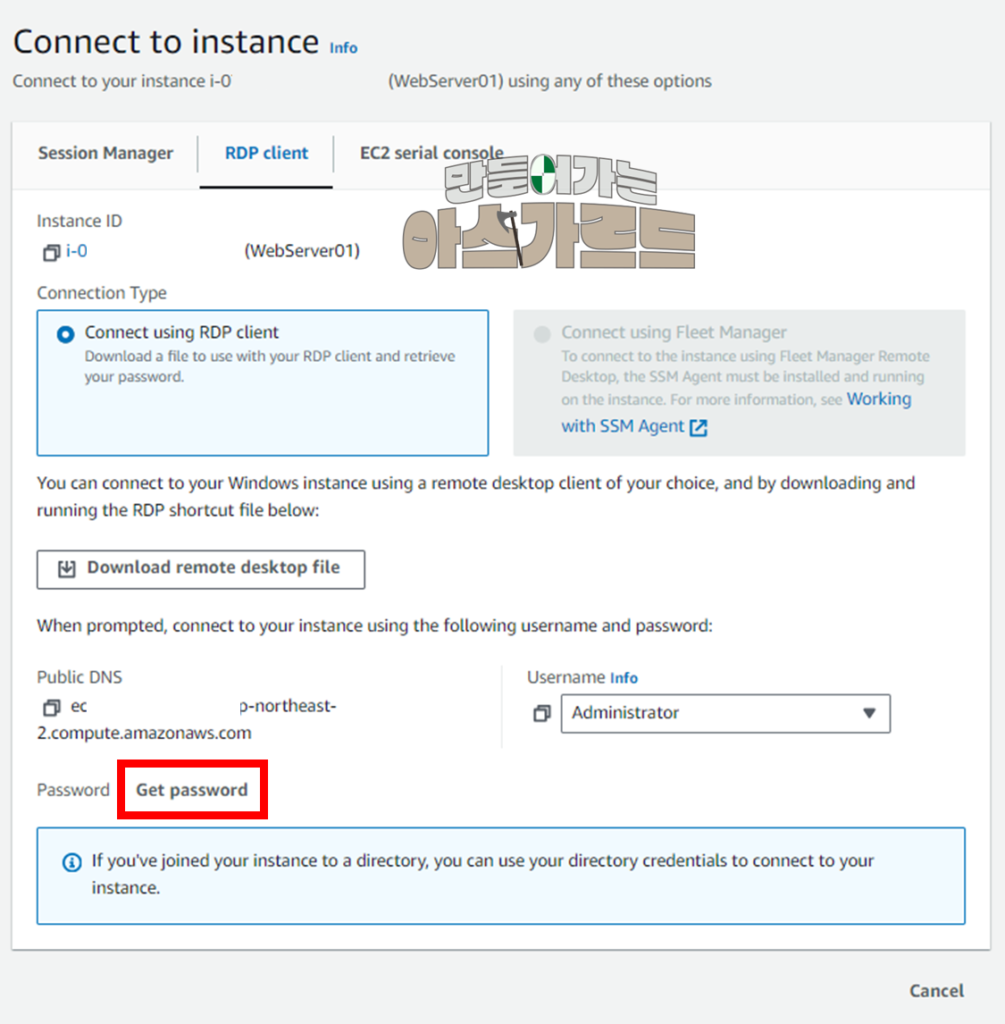
5) EC2의 인스턴스 정보에서 [Connect] 버튼을 클릭합니다. [RDP Client]를 선택합니다. ‘Get Pasword’를 클릭하여, “2) 단계”에서 만든 Key Pair를 업로드하면, Password 가 평문으로 나옵니다. 이후 [Download remote desktop file] 버튼을 클릭하여, .rdp 파일을 다운로드합니다.
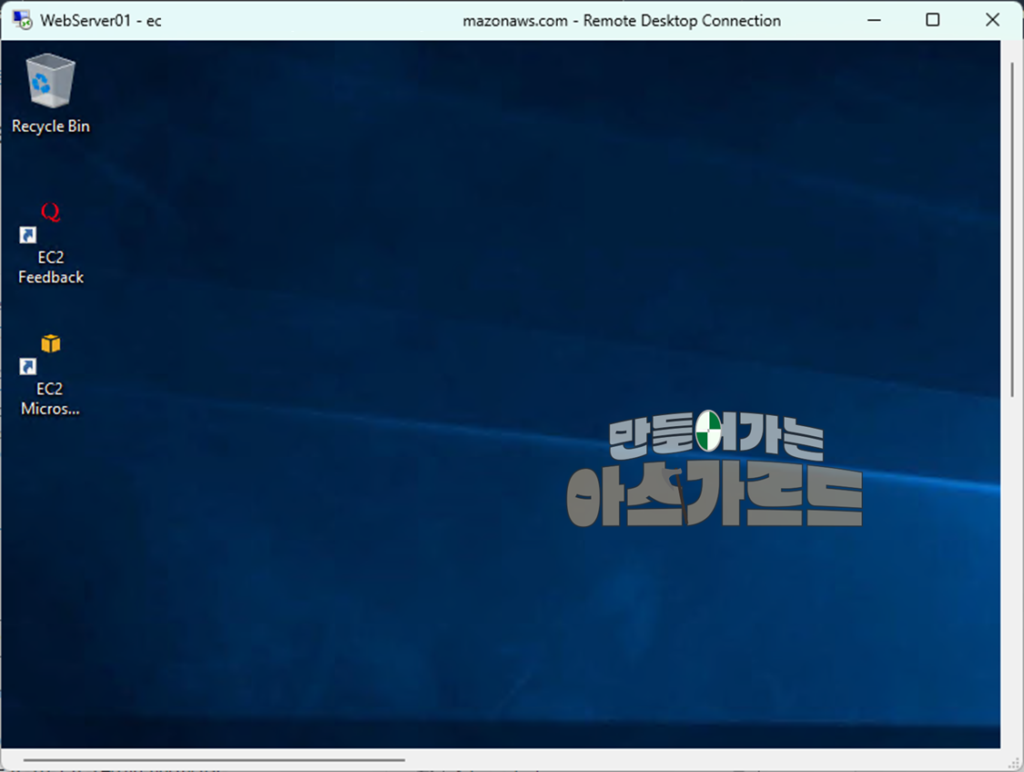
6) RDP파일을 실행하고, Password 를 입력하면, Windows Server 2022 가 실행됩니다.